
The Ultimate RV Camping Guide For The Canadian Rockies
This RV camping guide covers everything families and first-time RV travelers need to know before towing a trailer into the Canadian Rockies for their first camping adventure. Planning a trip through Banff, Jasper, or places like Kananaskis is exciting, but the mountains throw challenges at you that flat-ground camping just doesn’t.
Freezing overnight temperatures in August, gravel campsites that slope in every direction, and stretches of highway with no cell service—they’re all part of the experience. Downloading offline maps before you leave home is a must if you want to navigate these remote mountain passes safely.
Before you plan your route, picking the right RV becomes the most important decision you’ll make. For a lot of newcomers, the first step is simply wondering, what types of RVs are there and which type fits our family?
If you’re not ready to buy a rig, renting an RV is a popular way to explore the mountains without a long-term commitment. Honestly, that’s how most folks get started. Check out RVezy for RV rental options
This guide focuses on the three things that matter most for a safe, stress-free Rockies RV trip: gear and essentials, campground setup, and RV maintenance. Every tip comes from real trips, real mistakes, and plenty of lessons learned while towing a travel trailer through Alberta and British Columbia with a family of five.
Whether you’re brand new to the RV lifestyle or have a few seasons of camping under your belt, the Canadian Rockies demand specific preparation. Standard RV basics that work fine at an RV resort on the prairies can leave you scrambling when you’re dry camping in the mountains.
If you camp at a national park with no power, no water, and a bear warning, your setup matters so much more. You might even try boondocking in certain legal areas if you really want to escape the crowds.
If you’re looking for a practical starting point, Along The Rockies offers a mistake-proof checklist for first RV trips built around these exact mountain conditions. (Seriously, bookmark it.)
Key Takeaways
- Pre-trip maintenance checks on brakes, tires, and plumbing systems are critical for safe travel on steep mountain grades.
- Mountain RV camping needs gear specifically suited for dry camping, cold nights, and wildlife encounters.
- A consistent campground setup routine helps prevent damage to your RV on those sloped, uneven Rockies campsites.
Table of Contents
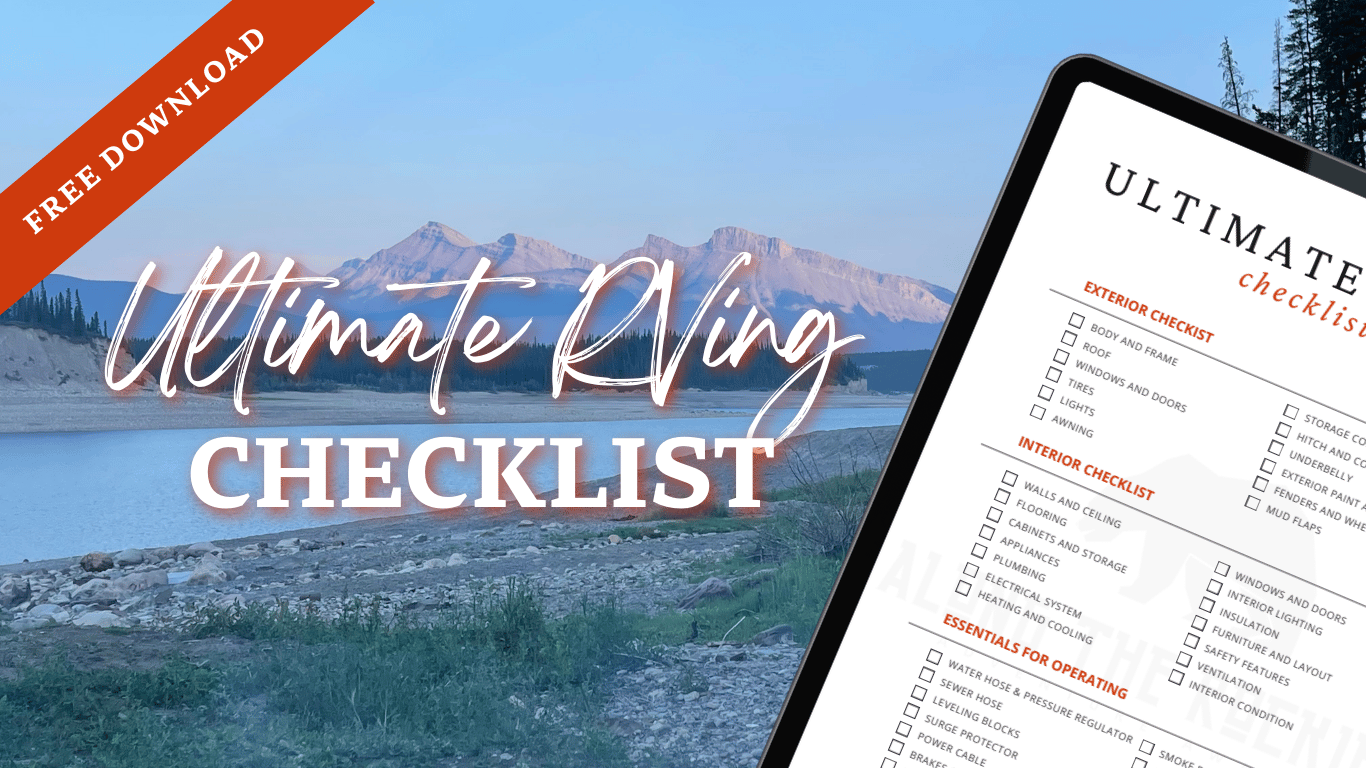
Download Your Free Canadian RV Trip Checklist
Never miss a beat with this Ultimate RVing Checklist.
It covers everything from inspecting your RVing, safety, and must-have accessories to ensure great RVing experience!
What Do You Need to RV the Canadian Rockies?
The Canadian Rockies are not your typical campground environment. Whether you’re pulling a travel trailer or a fifth wheel, the terrain throws surprises that catch even experienced RVers off guard.
A massive Class A motorhome gives you the most living space but driving it on winding parkway roads can be a nightmare. Many families go with a Class C because the van-style cab just feels easier to drive. Meanwhile, a compact Class B is perfect for folks who want to squeeze into tight trailheads.
Regardless of your rig, everyone expects you to practice good campground etiquette. That means respecting quiet hours so everyone can enjoy the natural sounds of the wilderness.
Provincial and national park campsites are usually unlevel, covered in gravel, and surrounded by trees with low-hanging branches. Many campgrounds in Banff, Jasper, and Kananaskis offer limited or no hookups, so you might be dry camping without power, water, or sewer connections.
Some sites offer partial hookups—maybe just electricity and water. Knowing how to manage different campground hookups makes your stay so much smoother.
No matter the site type, you have to follow all campground rules about noise, waste, and wildlife. Parks Canada takes food storage seriously, and fines for leaving food out can be pretty steep.
Weather swings are another big thing. Temperatures can drop below freezing overnight even in July at higher elevations, and afternoon thunderstorms often roll in with little warning. A sunny morning can turn into hail by lunchtime, and it happens more than you’d think.
This guide is organized around three practical pillars:
- RV Essentials & Gear for mountain-specific conditions
- RV Campground Setup on uneven, tight Rockies campsites
- RV Maintenance & Safety for steep grades, cold snaps, and extended travel
Getting each of these right really makes the difference between a trip you remember fondly and one you wish you could forget.
RV Essentials & Gear (What to Buy & Pack)
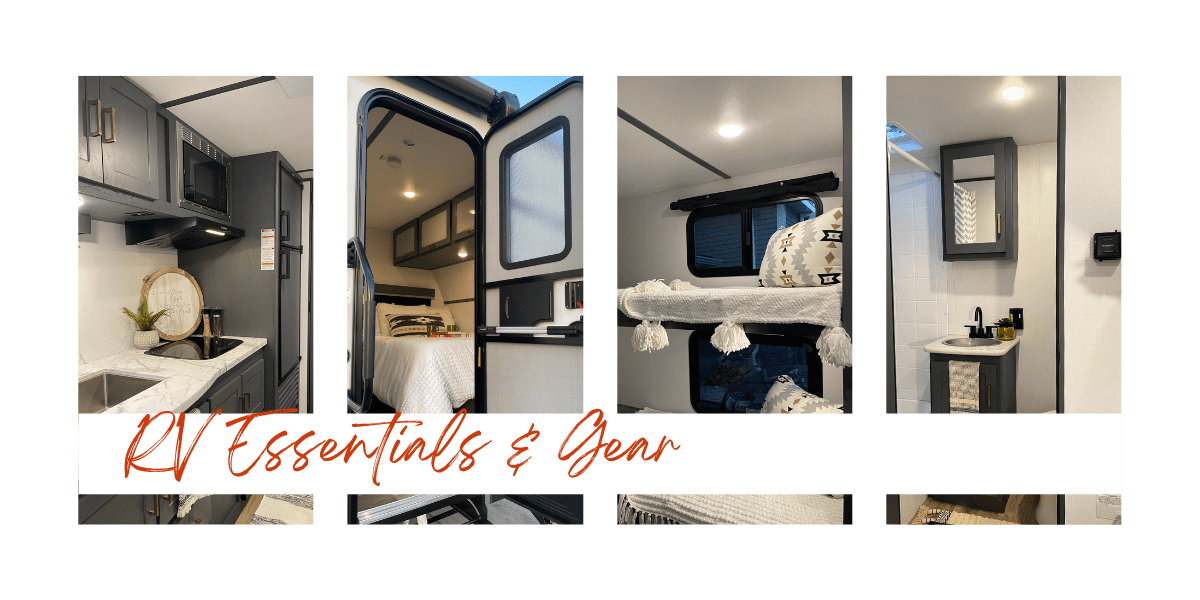
Most standard RV essential lists assume you’ll have full hookups and flat ground. In the Rockies, that idea falls apart fast.
Many campgrounds only offer dry camping, and the terrain means you’ll need specific camping essentials you’d never think to pack for a lakeside park.
The gear below covers the exact conditions we run into on nearly every Rockies trip: no shore power, unlevel pads, cold nights, and close proximity to wildlife. You definitely get used to it, but it’s always a little wild.
Must-Have Mountain RV Gear
- Surge protector (30- or 50-amp): Campground power pedestals in older parks often deliver inconsistent voltage. A surge protector shields your RV’s electrical system from damage. This is one of the most important accessories to have before any trip.
- Water pressure regulator: Mountain campground water systems can spike in pressure, which risks bursting your freshwater hose or damaging internal plumbing. Not fun to fix in the middle of nowhere.
- Electrical adapters: Not all pedestals are the same. Having a 50-to-30 amp or 30-to-15 amp adapter means you can connect to power anywhere, even if it’s not what you expected.
- First aid kit: Mountain adventures come with risks. Make sure your kit is stocked for burns, cuts, and altitude headaches—because you never know.
- Leveling blocks and X-chocks: Rockies campsites are almost never flat. A good set of leveling blocks (Lynx Levelers are a favourite) and X-chocks between your dual tires keep the trailer stable and your fridge running properly.
- Portable solar panels or inverter generator: Dry camping is the norm. A 200-watt portable solar panel setup or a quiet inverter generator keeps batteries charged and devices powered without hookups.
- Freshwater hose (drinking-water safe) and extra jugs: When your site has no water hookup, carrying extra freshwater containers lets you stay longer without running dry.
- Sewer hose with clear elbow connector: Even at sites with sewer hookups, a quality sewer hose saves you from messy disasters. A clear elbow lets you confirm tanks are flowing properly (trust me, you want to know).
- Bear spray and bear-safe food storage: Parks Canada requires it in many areas. Carry bear spray on every hike and stash all food, coolers, and scented stuff inside the RV or in provided bear lockers.
- Warm-weather sleeping gear: Pack sleeping bags rated to at least -5°C. Mountain nights regularly dip below freezing, even smack in the middle of summer.
- Extra propane: Furnace use on cold nights burns through propane way faster than most new RVers expect. Bring more than you think you’ll need.
For a full RV Essentials & Gear breakdown read the full guide here:
👉 The Ultimate Guide For RV Essentials In The Canadian Rockies
RV Maintenance & Safety (How to Keep It Running)
If you ignore maintenance before a Rockies trip, you’re basically rolling the dice. Steep mountain grades on highways like the Icefields Parkway and Highway 1 through Kicking Horse Pass put extreme strain on brakes, tires, and wheel bearings.
A freezing September night at a Kananaskis campground can burst unprotected or freeze leaky water lines. The mountains don’t really forgive neglected maintenance.
Doing a pre-trip inspection takes just a few hours and costs almost nothing. Skip it, and you could end up broken down on a remote stretch of highway with no cell signal and no repair shop for miles.
Crucial Mountain Maintenance Checks
- Inspect trailer brakes. Always get your electric or hydraulic trailer brakes checked each year. Steep descents on 6% to 8% grades demand brakes that respond right away. You should include brake inspections in every seasonal maintenance schedule.
- Check wheel bearings. Worn wheel bearings overheat and can cause a wheel to seize or even come off—no one wants that. Look to repack or swap out bearings as often as your manufacturer says, and definitely inspect before any big mountain trip.
- Verify tire pressure and condition. Check tire pressures when they’re cold, before you hit the road. Keep an eye out for sidewall cracks, odd wear patterns, or any hint of dry rot. Mountain roads are brutal on tires, and a blowout while coming down a grade? That’s a nightmare.
- Winterize early for Alberta’s early freezes. Temperatures in the Rockies can drop below freezing as early as late August at higher elevations. If your trip stretches into September or October, at least partially winterize your water system or wrap exposed pipes with heat tape. Better safe than sorry.
- Inspect roof seals (Dicor). UV rays and wild temperature swings break down RV roof sealant faster than you’d think. Check all seams, vents, and antenna mounts for cracks. Water leaks cause hidden damage that gets expensive fast. We inspect and touch up our roof twice a year. Once at the start of the season and once at the end of the season.
- Flush and maintain the black tank. Use a built-in tank rinser or a wand after every dump. Keep that black tank valve closed until the tank’s at least two-thirds full before dumping. This helps prevent buildup and those annoying sensor issues.
- Test the gray tank valve and connections. A leaking gray tank valve makes a mess at your campsite and, honestly, just attracts wildlife you don’t want. Check the seals and swap them out if they’re worn.
- Check propane lines and regulators. Brush a soapy water solution onto all fittings and watch for bubbles. Propane leaks in a closed-up RV? That’s a serious safety hazard—don’t skip this one.
👉 Read the Full Guide: The Complete RV Maintenance Checklist for the Canadian Rockies
RV Setup Guide (How to Park & Hook Up)
Arriving at a busy Rockies campground after a long day of towing is stressful, no way around it. Sites are often tight, surrounded by trees, and positioned on uneven ground.
Backing a travel trailer into a narrow spot while other campers watch is a rite of passage. But if you follow a strict setup order, it actually gets manageable and you avoid damaging your rig.
Skipping steps—or doing them out of order—leads to problems. We’ve seen RVers crack stabilizer jacks by using them to level a trailer, and we’ve had a fridge refuse to cool because the RV was parked on a slope. Sticking to a routine really does eliminate these headaches.
The Campground Setup Process
Follow these steps in order every time you pull into a site:
- Walk the site first. Before you pull in, check for low branches, rocks, and obstacles. Make sure there’s enough clearance for your slide-outs on both sides.
- Back in slowly with a spotter. Use a two-way radio or hand signals. Go slow. There’s no prize for speed—seriously, take your time.
- Level the RV side-to-side before unhitching. Use leveling blocks under the low-side tires and drive onto them. Confirm with a bubble level on the floor. You have to do side-to-side leveling before disconnecting from the tow vehicle.
- Unhitch the trailer. Raise the tongue jack to lift the coupler off the ball. Then disconnect the safety chains, breakaway cable, and wiring harness.
- Level front-to-back. Adjust the tongue jack until the trailer sits level from front to back.
- Chock the wheels securely. On sloped mountain sites, this step is critical. Use wheel chocks on both sides of each tire, and add X-chocks between dual tires if you’ve got them.
- Drop the stabilizer jacks. Extend each corner stabilizer until it touches the ground firmly. Never use stabilizer jacks to lift or level the trailer. They’re just for reducing rocking, not holding the trailer’s weight.
- Connect power (if available). Plug in your surge protector first, then hook up to the campground pedestal. Flip on the breaker.
- Connect water (if available). Attach your freshwater hose to the spigot with the pressure regulator in line. Turn on the water slowly and check for leaks.
- Connect sewer (if available). Attach your sewer hose to the RV’s waste outlet and run it downhill to the dump connection. Keep both valves closed until you’re ready to dump. Always dump the black tank first, then the gray.
Sticking to a repeatable routine lowers campsite stress and protects your equipment. In the Rockies, where uneven terrain makes everything trickier, this matters even more.
👉 Read the Full Guide: The Ultimate Guide For RV Essentials In The Canadian Rockies
Ready to Hit the Road?
Now that you know how to pack, set up, and keep your RV in shape, it’s finally time to plan the actual trip. The gear in your storage bay, the routines you stick to at every campsite, and the maintenance checks you knock out before leaving home—these are what separate a smooth Rockies trip from a stressful one.
The Canadian Rockies really do offer some of the most spectacular RV travel in North America. This rv camping guide? It’s only the beginning. From those unreal turquoise lakes in Banff to the quietest backcountry campsites in Kananaskis, every destination rewards the prep work you put in beforehand.
Head over to our Canadian Rockies RV Destinations Hub to find the best campgrounds in the Canadian Rockies. Start with a destination and book early—campgrounds in national parks fill months ahead. Build your trip around the practical steps in this guide and you’ll be way ahead of the game.
Frequently Asked Questions
Where can I find a free RV campground directory or guidebook?
Along the Rockies is honestly one of the best free tools for finding campgrounds in the Canadian Rockies. You’ll find real world advice, campground reviews, and things to do! Its packed with everything you need to place your trip accordingly. Complimentary websites to Along The Rockies are Parks Canada, Alberta Parks, and BC Parks
How do I choose between an RV park and a public campground for a trip?
RV parks usually give you full hookups (power, water, sewer), Wi-Fi, and extras like laundry or playgrounds. Public campgrounds in places like Banff and Jasper? They’re cheaper and more scenic, but often have limited or no hookups at all. It really comes down to how comfortable you are with dry camping and whether your family needs those extra conveniences.
What does the 3-3-3 rule mean for planning RV travel days?
The 3-3-3 rule basically means you drive no more than 300 miles (about 480 kilometres) per day, aim to arrive by 3:00 p.m., and stay at least 3 nights at each stop. It’s just a guideline to cut down on fatigue and actually give you time to enjoy each place. In the Rockies, where mountain driving is slower, this rule makes even more sense.
What is the 2-2-2 rule for RV camping, and how do I use it?
Same concept as the 3-3-3 rule but the 2-2-2 rule says: drive no more than 200 miles a day, stop every 2 hours for a break, and plan to arrive at your campground by 2:00 p.m. It works especially well for family RV trips in the Rockies, where mountain roads require more focus and campground check-in windows can be surprisingly tight.
What is the 200 rule for camping, and when does it apply?
The 200 rule is just a simpler version of those travel-day guidelines: keep your daily drive to 200 miles, tops. For mountain RV travel, this is a smart cap—steep grades, twisty roads, and frequent wildlife stops are going to slow you down anyway. If you push past 200 miles in the Rockies, you’ll probably end up arriving after dark, and that’s just asking for a rough setup and a stressful night.