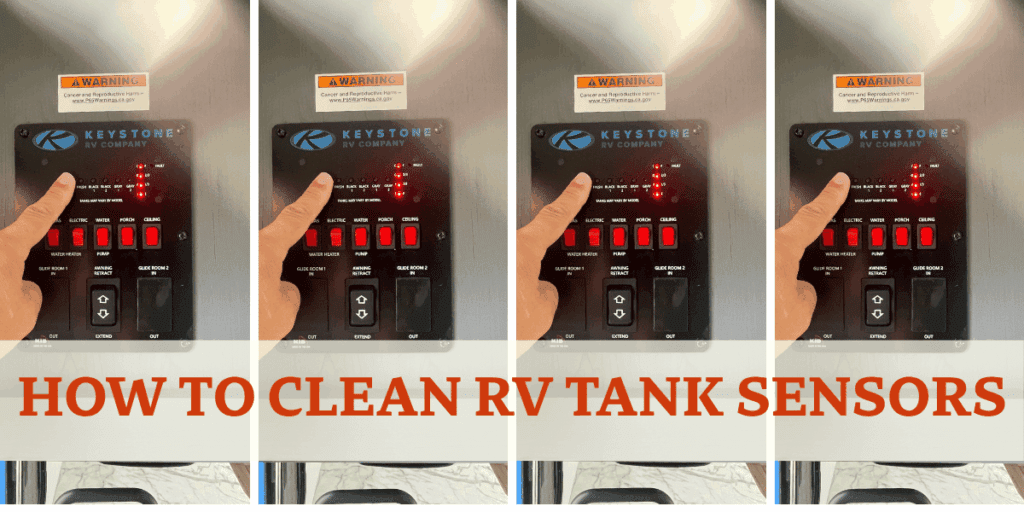
Want to know how to clean RV tank sensors. RV tank Sensors let you keep an eye on your holding tank levels. But they lose their accuracy when waste, grease, or minerals start to build up on them.
Most RVers deal with false readings sooner or later. Sometimes, the sensors say the tanks are still partially full even after a dump.
You’ve got a few ways to clean RV tank sensors: tank cleaning wands, dishwasher detergent soaks, enzymatic cleaners, or even professional power washing if things get really bad. Usually, the problem’s just a dirty tank—stuff sticks to the sensors or tank walls and blocks good readings. More on that here.
Picking the right cleaning method for your situation? That’ll save you time and keep you from getting annoyed by bad readings. A little regular maintenance goes a long way—your sensors will keep working, and you won’t risk a nasty overflow halfway through your trip.
Key Takeaways
- Clean RV tank sensors with a cleaning wand, a dishwasher detergent soak, enzymatic cleaners, or pro-level power washing.
- Struvite mineral deposits can stick hard to tank walls and sometimes only come off with high-pressure cleaning.
- Prevent sensor gunk by flushing tanks well, keeping your black tank valve closed between dumps, and using toilet paper that dissolves fast.
This Post Is All About How To Clean RV Tank Sensors
Disclosure: Some of the links in this post are ‘affiliate links’. This means if you click on the link and purchase the item, I will receive an affiliate commission.
Understanding RV Tank Sensors
RV tank sensors help you monitor waste and fresh water levels. They use different sensor technologies, but most give you readings at empty, ¼, ½, ¾, and full.
Types of Tank Sensors in RVs
Your RV probably uses one of two main types of sensors for holding tanks. Through-wall sensors poke right into the tank interior, so they touch the contents. These probes stick through the tank wall at different heights to sense when liquid gets to each level.
External sensors, on the other hand, stick to the outside of the tank wall. They don’t go inside. They sense tank levels through the wall by measuring changes in the tank’s electrical properties as it fills up.
Through-wall sensors show up more in older RVs. They can create spots where waste sticks straight to the probe, which is kind of a pain. External sensors avoid direct contact with the gross stuff, but they’ll still give bad readings if gunk builds up on the inside wall across from the sensor.
Both black water and grey water sensors use these same basic approaches. Doesn’t matter which tank—they’re pretty similar.
How Tank Sensors Work in Holding Tanks
RV holding tank sensors kick in when waste hits certain heights inside your tank. This triggers indicator lights on your monitoring panel. The ¼ full sensor sits low, close to the bottom. The full sensor’s up top.
When liquid or waste touches a through-wall probe, it completes an electrical circuit, and the monitor panel lights up. External sensors watch for changes in electrical conductivity or capacitance through the wall as the tank fills.
But when stuff like waste, grease, food bits, or toilet paper coats the sensors or tank walls, things get messy. Anything wet and conductive that covers the sensors makes your panel show false readings. Sometimes your tank reads ¾ full even after you dump—just because residue still covers the top sensors.
That buildup blocks accurate readings. Suddenly, it’s tough to know when you really need to empty your tanks.
Signs Your RV Tank Sensors Need Cleaning
Your RV tank sensors are supposed to tell you how full things are. But when they act up, you’ll start seeing weird, inaccurate readings or indicators that don’t match what’s actually in the tank.
Common Sensor Reading Issues
The most obvious sign your black water tank sensors need help is when they keep showing partial fullness even after you’ve dumped. The panel might stay stuck at ¼ or ½ full, even though you know it’s empty.
Sometimes, the holding tank sensors jump all over the place—up, down, skipping levels—without you even using water. Indicator lights might flicker between empty and full, or just skip readings.
If your grey water tank always reads full, no matter how much you use it, that’s a classic sign of buildup on the probes. Sometimes only certain levels stop working—usually the lower sensors near the tank bottom, where the worst gunk piles up.
Causes of Sensor Malfunction
Waste buildup and residue coat the probes or tank walls and block the sensors from doing their job. Grease, food, and toilet paper cling to through-wall sensors, tricking them into showing the tank is fuller than it is.
Struvite is especially stubborn. This mineral crystal forms from magnesium, ammonia, and phosphate in wastewater, and it sticks to tank walls like barnacles. Mineral deposits can even block external sensors that read through the wall.
If you leave your black water valve open while camping, you make things worse. The liquids drain, but solids stay behind and pile up, forming a pyramid that keeps the lower sensors tripped—even if the tank above is basically empty.
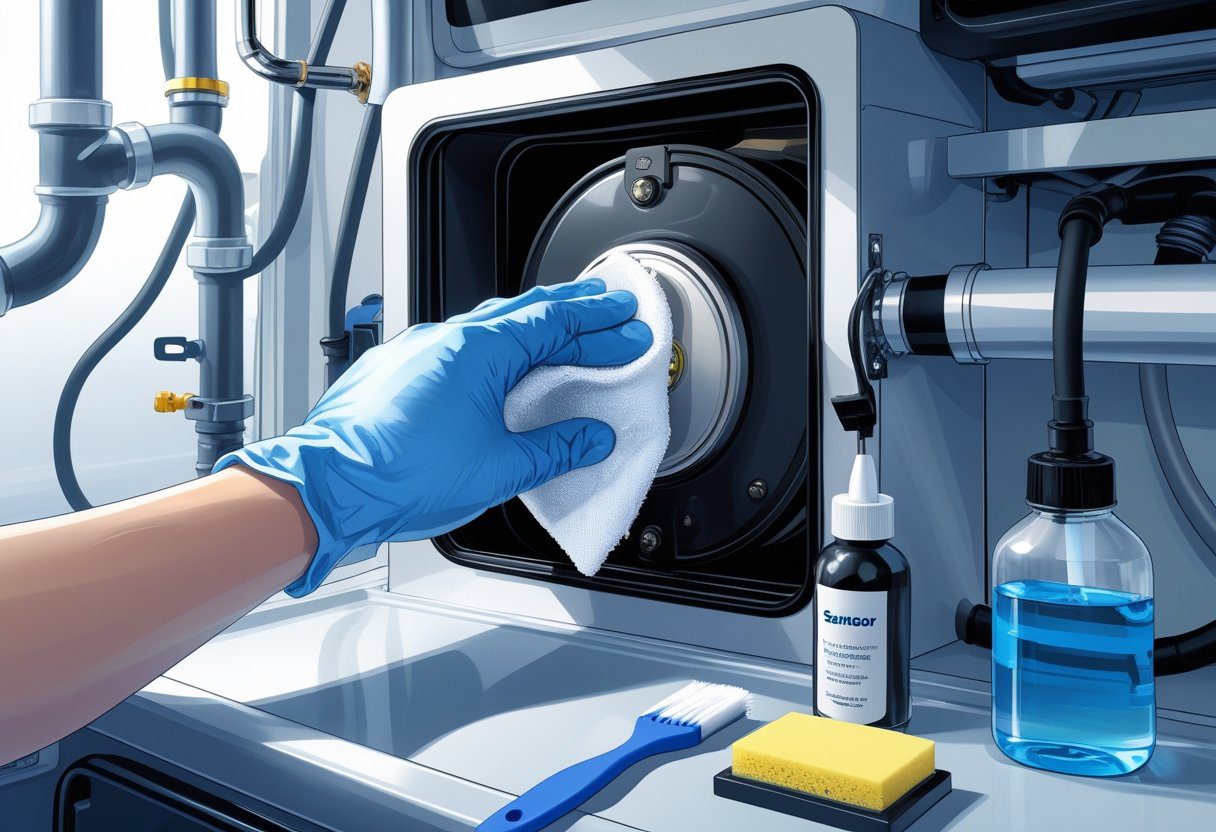
Essential Tools and Products for Sensor Cleaning
If you want to clean your sensors right, you’ll need products and equipment that actually break down the gunk and can reach inside your tanks. You’ll want a mix of cleaning agents, mechanical tools, and some protective gear. Otherwise, you’re just making a mess.
Sensor Cleaning Agents and Solutions
Commercial sensor cleaners are made to dissolve the residue, grease, and scale that builds up on tank sensors. Just pour them in through the right inlet—they work by breaking down organic matter and minerals.
If you’d rather go natural, try white vinegar and baking soda. Mix a cup of baking soda with a gallon of vinegar, add water, and let it sit in the tank for a few hours. It fizzes up and helps loosen stuff without harsh chemicals.
Happy Campers Extreme is a popular enzyme-based cleaner. It breaks down waste and helps clean sensors at the same time. Tank cleaner and deodorizer combos tackle both sensor crud and nasty smells. Usually, you’ll want to let these soak overnight for best results.
Sensor-specific cleaners are stronger than your average tank cleaner, and some even have stuff that helps prevent future buildup. Always check the label for how much to use and how long to let it sit.
Recommended Cleaning Equipment
A tank cleaning wand is your friend when you need to knock off stubborn debris. These wands have spinning heads and multiple nozzles, so they spray high-pressure water all over inside the tank—places gravity draining just can’t reach.
The rinser wand attaches to your RV’s sewage outlet and sprays water around the tank. If your RV has a built-in black tank flush, you can use that too—no extra tools needed.
Manual scraping tools are basically long handles with a scraping head. You shove them through the sewage outlet and physically knock off thick sludge. Don’t forget buckets, gloves, and a decent garden hose with good pressure for flushing.
Safety Precautions and Gear
Wear tough rubber gloves—ones that stand up to chemicals—when you’re handling cleaners or working near the sewage. No one wants that stuff on their skin.
Eye protection is a must if you’re spraying high-pressure water or pouring in chemicals. A face mask or even a respirator helps keep you from breathing in fumes, especially if you’re stuck in a small space.
Ventilate the area if you’re using chemical cleaners inside your RV. Never mix different cleaners together; you could end up making something dangerous. And keep all this stuff away from your fresh water and anywhere you store food.
How to Clean Black Water Tank Sensors
Black water tank sensors don’t stay accurate unless you clean them regularly. If you let debris build up, you’ll get false readings. But you can get them working again with flushing, chemical soaks, or mechanical cleaning—depending on how bad things are.
Preparation and Safety Steps
Before you start cleaning your RV tank sensors, double-check that your black water tank valve is closed. You don’t want a nasty surprise mid-cleaning. Wear gloves, safety glasses, and some old clothes—you might get splashed.
Look at your tank’s current readings and figure out which sensors are stuck. Is it just one, or all of them? If you’re planning to dump afterwards, empty your grey tank first. That way, the grey water helps rinse out your hose.
Gather your cleaning supplies based on your method. Granulated dishwashing detergent, RV tank treatments, or a tank cleaning wand are all good choices. Don’t use liquid dish soap in your black tank—it foams up like crazy and can overflow.
Flushing and Chemical Soaking Methods
Fill your black tank about halfway with fresh water. Use the toilet or shower drain for this. Then, toss in half a cup of granulated dishwashing detergent—skip the liquid stuff to avoid bubbles.
Take your RV for a 30-minute drive. The movement sloshes the solution around, scrubbing debris off the black water tank sensors. Let it sit overnight to break down grease and toilet paper.
Dump the tank the next morning, then refill with fresh water and flush again. Open the valve and let it run until the water’s clear. If your tank’s really gross, you might need to repeat this black tank flush two or three times.
You can also use half a cup of chlorine bleach in a half-full tank of water. Let it sit five to seven minutes, then drain and flush twice with fresh water to get rid of any bleach.
Using a Tank Cleaning Wand
A tank cleaning wand is great for stubborn buildup. Grab a wand made for RV tanks—they’re usually between $20-$100 and fit a standard garden hose.
Push the wand through your toilet into the black tank. You’ll notice when it drops into the chamber. Have someone turn on the water while you hold the hose steady.
Open your tank’s drain valve before you start spraying. Move the wand slowly inside, letting the pressurized water hit the sensors on the tank walls. Keep going until the water draining out runs totally clear. Here’s a more detailed cleaning guide.
Be careful when you pull out the wand—water can spray. Keep your mouth and eyes closed as you take it out of the toilet so you don’t get splashed.
How to Clean Grey Water and Combination Tank Sensors

Grey water tank sensors get jammed up with soap scum, grease, and minerals, so they stop giving you good readings. Combination tanks are even trickier—they need cleaning methods that handle both grey and black water gunk, but you still have to be careful not to mess up sensitive parts.
Removing Grease and Build-Up
Grey water sensors run into some unique problems. Dishwater and shower drainage leave behind stubborn grease films and soap residue.
These contaminants coat the sensor probes. They create a conductive layer that tricks your holding tank sensors into displaying false readings—frustrating, right?
First, drain your grey tank completely to get rid of standing water. Add 3-5 gallons of hot water to the empty tank; honestly, heat just works better than cold for breaking down grease.
Pour in 1-2 cups of powdered dishwasher detergent. This stuff cuts through soap scum and doesn’t create mountains of foam.
Mineral deposits sometimes form white or brown crusts on sensors. White vinegar handles that pretty well.
Add 2-3 cups of vinegar to the hot water mix. The acidity helps break down calcium and magnesium buildup.
Let this solution sit for 2-4 hours. It needs time to really soak in and soften those hardened deposits.
If you need more aggressive sensor cleaning, commercial grey tank cleaners exist for a reason. These contain surfactants that actually target the types of residue you find in grey water systems.
Detergent and Agitation Techniques
Physical agitation makes a huge difference in cleaning effectiveness when you clean RV tank sensors. Most people toss in 5-10 pounds of ice cubes along with about half a cup of dish soap or detergent.
Then, drive your RV for 30-60 minutes, ideally on roads with a few bumps and turns. The ice acts like a scrubber, bouncing around inside and knocking debris off the tank walls and sensor probes.
As the ice melts, it mixes with the detergent. This combo helps flush away whatever comes loose.
If you’re not moving the RV, fill the tank halfway with warm water and detergent. Use the fresh water system to create turbulence—run sinks and showers off and on for a few hours to get things sloshing inside.
After all that, drain the tank completely. Rinse with clean water until it runs clear.
Keep an eye on your sensor readings while you rinse. That’s the best way to see if things are actually improving.
Routine Maintenance and Prevention Tips
Keeping your RV tank sensors working right takes some regular attention. Waste management habits and consistent cleaning schedules really do make a difference.
Using the right products and sticking to proven routines will minimize sensor problems. It’s not glamorous, but it extends their life.
Preventing Build-Up on Sensors
The best way to prevent sensor build-up is to use enough water when flushing your black tank. Always fill the tank at least a third full before dumping to get proper flow and cleaning action.
RV-specific or rapidly dissolving toilet paper helps reduce fiber buildup on sensor probes. Regular household toilet paper? It tends to cling and eventually causes false readings.
Add a bio-active tank treatment after each dump. These treatments keep working between deep cleans, breaking down waste and stopping residue from sticking to sensors.
Try not to let your tanks sit empty for too long. Keeping a few liters of water in there stops waste from hardening on the sensors and tank walls.
Best Practices for Long-Term Sensor Accuracy
Plan on regular sensor checks every three to six months as part of your rv life maintenance routine. This habit helps you catch problems before they mess with your readings.
Flush your grey and black tanks thoroughly after every dump using clean water. It’s a simple step but it really does help keep the sensors working between trips.
Look over your sensor connections every so often. Corrosion or dirt can mess with signal transmission, so clean them up with a wire brush or contact cleaner if you spot issues.
Watch your tank readings for weirdness. If a sensor always says “full” when you know the tank’s empty, don’t ignore it—fix it before it gets worse.
Frequently Asked Questions
RV owners can keep tank sensor readings accurate with a few different cleaning approaches. Dishwasher detergent soaks and commercial enzymatic cleaners both work.
Knowing where your sensors are and sticking to a maintenance schedule helps avoid the buildup that causes false readings.
What are effective methods for cleaning RV grey tank sensors without disassembly?
You can clean grey tank sensors using dishwasher detergent. Just add about a cup to your partially filled tank before you hit the road.
Driving agitates the mixture and helps break down grease and oils stuck to the sensors. It’s easy and doesn’t require taking anything apart.
A tank cleaning wand is another non-invasive option. It sprays high-pressure water in a circular pattern against the tank walls.
Insert the wand through your toilet or drain opening after emptying the tank. Work from bottom to top while water flows steadily.
For really stubborn buildup, fill your grey tank halfway with water and pour in an enzymatic cleaner. Let it sit overnight—the enzymes need time to break down food bits and soap residue.
Can I create a homemade cleaner for my RV tank sensors, and what ingredients would be involved?
Honestly, the most effective homemade solution uses automatic dishwasher detergent like Cascade. It’s got softening agents that dissolve grease without making a sudsy mess.
Add about a cup of this detergent to your tank with some water. Then drive around to agitate the mixture.
White vinegar mixed with water (about 1:1) gives you a gentler option for light buildup. Pour a few liters into your tank and let it sit for a couple of hours before flushing.
Baking soda and vinegar together make a fizzing action that can help with minor debris. Mix one cup of baking soda with two cups of vinegar, then add that to your partially filled tank.
What commercial products are recommended for cleaning RV black tank sensors?
Enzymatic tank cleaners like Happy Campers Extreme break down waste that clings to sensors. They work fast and usually include deodorants to tackle odors at the same time.
Unique’s Clean-It is another solid choice. It ships everywhere—including California, where a lot of products face restrictions.
This cleaner uses beneficial bacteria to digest waste and stop buildup on sensor surfaces. It’s a nice option if you want something eco-friendly.
RV-specific sensor cleaning solutions from camping stores usually have concentrated surfactants. Add them after each dump to keep sensors clean between deep cleans.
How can I locate the sensors in my RV black tank?
Your black tank sensors are set at intervals along the tank’s sidewall. The quarter-full sensor sits near the bottom, and the full sensor’s up at the top.
Most systems use sensors at empty, ¼, ½, ¾, and full. Some RVs have through-wall sensors that stick into the tank, while others use external sensors mounted outside.
If you’re not sure which type you have, check your RV’s manual or look underneath where the holding tanks are. That usually clears things up.
The monitoring panel inside your RV lights up to show which sensor level is triggered. If your panel says the tank’s half-full right after dumping, you know the sensors at or below that level need attention.
What steps should I follow to reset the sensors in my RV tank?
Resetting RV tank sensors isn’t as simple as hitting a button. The inaccurate readings come from debris coating the sensors, so you’ll need to clean them physically.
First, empty your tank completely at a dump station. Fill the black tank with fresh water to about two-thirds full, add a cleaning solution, and drive for at least 30 minutes to agitate everything.
Dump the tank again and repeat until the water runs clear when you look through a clear sewer elbow. Sometimes it takes a few rounds.
After a thorough cleaning, your sensors should reset on their own and start giving you accurate readings again. If they’re still off after multiple cleanings, you might need professional power washing—mineral deposits like struvite can be tough to remove.
Is there a way to enhance the accuracy of my RV tank sensors through routine maintenance?
You can keep your black tank valve closed except when dumping. That little habit stops waste from drying on the sensors, which is a real pain.
This way, enough liquid stays in the tank to help flush things out when you finally dump. It’s honestly a pretty simple fix, but people skip it all the time.
If you toss in some enzymatic cleaner after each dump, you’ll prevent buildup before it even starts. These cleaners break down waste into smaller bits, so it all flushes out instead of sticking to your sensors like glue.
Honestly, using toilet paper that breaks down fast makes a difference too. You’ll have less gunk clinging to the sensors, and that’s always good news.
Flush with plenty of water every time you use the toilet. Oh, and try not to send food scraps or grease down your drains—those can mess with your grey tank sensors in ways you really don’t want.